SECTION 01
Your Game's Completion Rate Depends on What You Cut
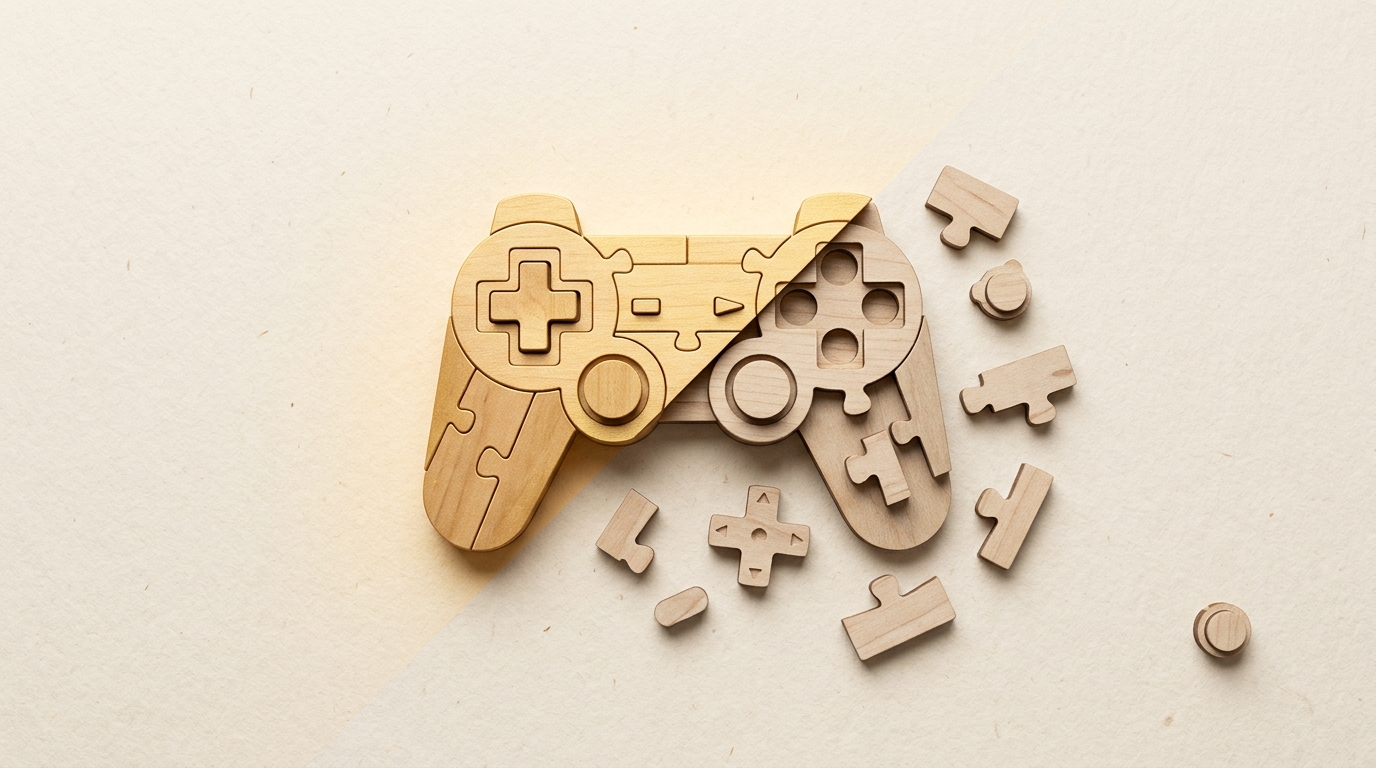
When starting a solo game project, most people begin with an ambitious design document. RPGs with branching storylines, action games with dozens of stages—the vision expands quickly.
But this "everything included" mindset is the biggest reason games never get finished. In game development, there's a well-known phenomenon where projects get abandoned indefinitely. The pattern is remarkably consistent.
A useful reference is "Exit 8," a horror exploration game made by a solo developer called KOTAKE CREATE. It features a looping underground passage where you find anomalies to escape—that's the entire game. Minimal assets, controlled scope. Despite its simplicity, it became a major hit.
The lesson is clear. Focusing on the fun while cutting assets and scope is how solo developers finish games. Trying to build something complex at full scale leads to getting stuck every time.
From years of building products, I've learned that setting a deadline first and only building what fits within it is the correct order. I typically set a one-month limit and refuse to add features that won't fit. "This isn't complete without feature X" is the thought that kills games.
SECTION 02
Three Decisions to Make First: Genre, Timeline, and Distribution
When starting game development, the first decision should be "what can I finish" rather than "what do I want to build." Without defining completion criteria upfront, scope creep is inevitable.
The three decisions to lock in are:
- Genre: 2D or 3D, action or puzzle or visual novel
- Timeline: A few days to two weeks for your first game, one month maximum even with experience
- Distribution platform: Mobile, PC, or browser—this determines your workload significantly
Platform choice matters more than most expect. Building for mobile means dealing with store review processes. PC builds have their own configuration requirements. Browser deployment is the simplest but requires separate plans for driving traffic.
For your first project, completing a mini-game in a few days to two weeks builds critical momentum. Starting with a large project burns motivation before you reach the finish line. A small, shipped game creates the confidence that fuels the next one.
SECTION 03
Choosing a Game Engine: Matching Tools to What You Want to Build
Engine selection should be driven by the type of game you want to make and your current skill level. Choosing based on popularity or future potential often leads to mismatches mid-project.
Here's how the major engines and frameworks break down:
- Unity: Handles both 2D and 3D with extensive documentation. Uses C#. Strong for mobile games with a large solo developer community
- Godot: Open-source and lightweight. GDScript is approachable for beginners. Particularly good for 2D games
- Unreal Engine: Best-in-class 3D graphics, but often too heavy for solo projects
- RPG Maker and similar tools: No programming required for RPGs and visual novels. Limited genres, but high completion rates
There's another important angle here: compatibility with AI tools. Unity and Unreal Engine use visual editors that make AI-assisted code generation difficult. They're designed around GUI-based workflows that don't integrate smoothly with AI coding assistants.
Code-based frameworks, on the other hand, work well with AI. For example, Balatro—a roguelike card game where you build poker hands to upgrade your deck—was built by a solo developer using a code-based framework and became a global hit. The combination of "code-first framework + AI" is an emerging strategy worth watching for solo developers.
If you have no programming experience, starting with RPG Maker or Godot is the most practical path. Choosing a complex engine means spending all your time learning the tool before you ever start making your game.
SECTION 04
Sourcing Assets and Checking Rights: Handling Non-Code Work
When building a game solo, many people are surprised by how much work exists outside of coding. Graphics, BGM, sound effects, fonts—unlike web services, games don't ship with code alone.
Through trial and error, I've come to believe that the biggest reason complex games stall for solo developers is the sheer volume of assets required. Characters, backgrounds, UI elements, animations, music—each one is small, but they compound into enormous workloads.
There are three main approaches to sourcing assets:
- Free asset sites: Many sites offer BGM, sound effects, and illustrations. Easy to use but hard to differentiate with
- Asset stores: Unity Asset Store, Godot marketplaces, and others. Higher quality but costs money
- Create your own or use AI generation: AI image generation has lowered the barrier for simple graphics and textures
Regardless of your approach, always check the usage terms. The three key points to verify are:
- Commercial use: Is it allowed? Some free assets prohibit commercial use
- Credit requirements: Do you need attribution in-game or on your store page?
- Modification rights: Can you change colors, crop, or otherwise alter the assets?
The best solution to the asset problem is designing a game that needs fewer assets in the first place. Like "Exit 8" mentioned earlier, building fun with minimal assets is the most rational strategy for solo development.
SECTION 05
The Full Development Workflow: From Concept to Release Build
The game development workflow follows a core sequence: concept → prototype → full implementation → testing → build. Sticking to this order is the shortest path to completion.
The most critical phase is prototyping. This is where you determine whether the game is fun to play. Placeholder art is fine. If the core mechanics and rules aren't enjoyable at this stage, change your concept rather than pushing forward.
Once the prototype shows promise, move to full implementation. A key practice here is using version control from day one. Git lets you roll back when things break. As a solo developer, nobody else is backing up your work—you need to assume that responsibility yourself.
Maintaining visibility into your progress also helps:
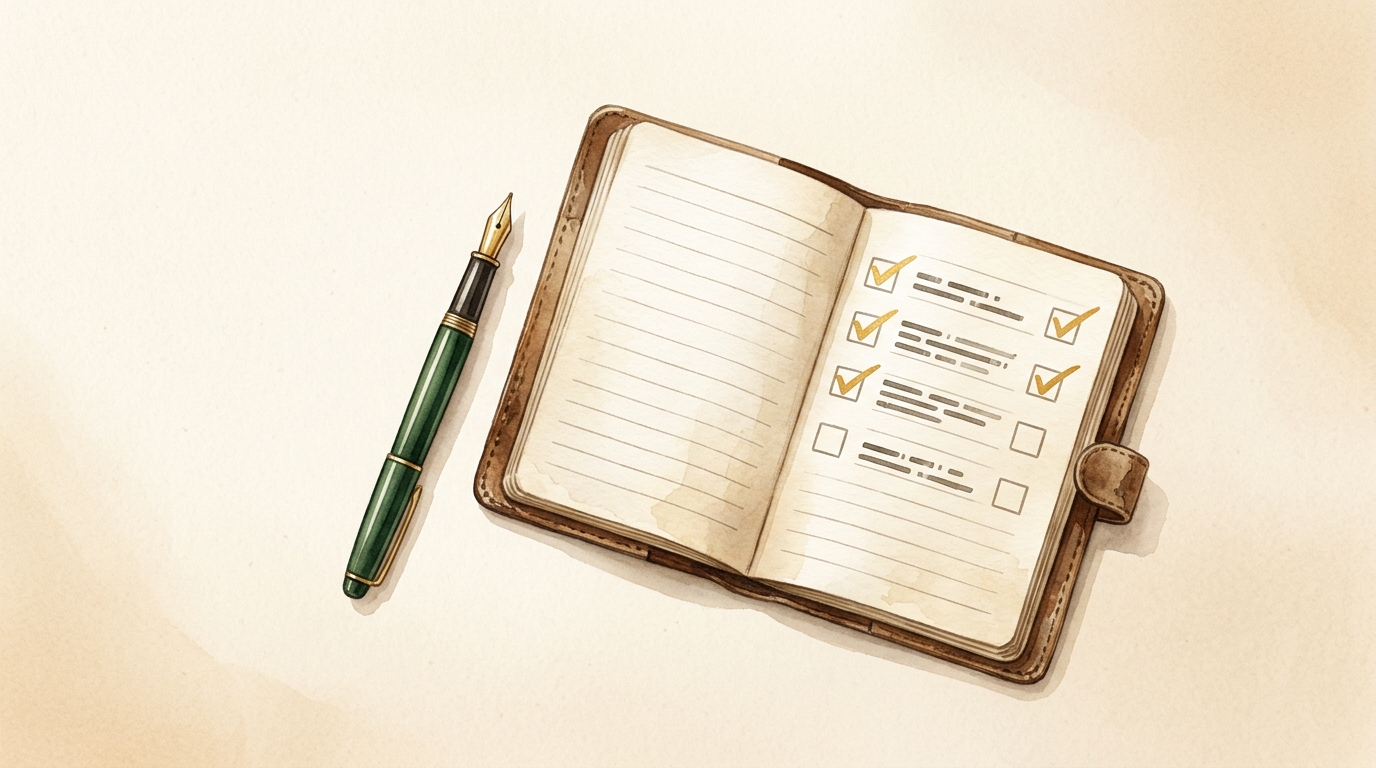
- Use a task list and check items off: Seeing remaining work keeps motivation steady
- Post development screenshots on social media regularly: External accountability prevents abandonment
- Set weekly milestones: "This week I'll finish X" creates small wins that compound
Testing and building are about outputting in the correct format for your distribution platform. WebGL for browsers, executables for PC, APK or IPA for mobile. This step takes more time than expected, so build buffer into your schedule.
SECTION 06
Choosing Where to Release: Steam, Mobile Stores, and Browser Platforms
Once your game is finished, you need to decide where to publish it. The required work, costs, and discoverability vary dramatically across platforms.
Here's how the major platforms compare:
- Steam: The largest PC gaming platform. Registration costs money, and store page setup (tags, descriptions, screenshots) requires significant preparation. However, wishlists and seasonal sales provide strong discovery mechanisms
- Mobile stores (App Store / Google Play): Annual developer fees apply. Review guidelines must be followed, and rejection is possible. But the user base is enormous
- Browser platforms (itch.io, unityroom, etc.): Free to register and simple to deploy. No installation required for players. But monetization options are limited
Starting with a browser release to gauge reactions is the lowest-risk approach. There are no fees, and the publishing process is straightforward. If the response is positive, you can then consider expanding to Steam or mobile stores.
Note that each platform requires different build formats. Browser needs WebGL, Steam needs desktop executables, and mobile needs platform-specific packages. Confirm at the engine selection stage that your chosen tool can output the builds you'll need.
If you choose Steam, publishing your store page early to collect wishlists is an effective strategy. Building a wishlist count before launch translates directly into better first-day sales.
SECTION 07
After Launch: Promotion, Reading Signals, and Deciding What's Next
Publishing your game starts the second half of solo development: getting it in front of players. Shipping is not the finish line.
Realistic promotion channels for solo developers include:
- X (formerly Twitter): Share development screenshots and videos with tags like #gamedev and #indiedev to increase visibility
- Game community platforms: Browser games can appear in rankings or featured sections on their hosting platforms
- Streamers and content creators: Explicitly granting streaming permission increases the chance of coverage
The critical skill here is making decisions quickly based on the response. If there's no traction immediately after launch, the current direction likely won't gain momentum on its own. Decide early whether to update and improve or pivot to the next project.
From building many products, I've observed that products that succeed tend to show momentum from the start. Even prolific creators find that only a small fraction of what they build gains real traction. That's why it's important to avoid fixating on a single title and to switch quickly between "keep improving this" and "move on to the next one."
SECTION 08
Using AI in Solo Game Development: Possibilities and Limits
AI has expanded what's possible for solo developers. However, in game development, there's a clear divide between where AI helps and where it doesn't.
AI works well in these areas:
- Code generation: Quickly scaffolding game logic and UI handling
- Image generation: Creating simple graphics, textures, and item art in short timeframes
- Text generation: Drafting scenarios, NPC dialogue variations, and flavor text at scale
However, visual-editor-based engines like Unity and Unreal Engine are designed around GUI workflows, making it structurally difficult for AI to assist with code generation. Unlike web apps where you can have AI write code directly in your editor, game engines don't integrate that way.
This is why choosing a code-based framework becomes a strategic advantage. When game logic is written entirely in code, AI-generated output can be used directly. This combination has the potential to fundamentally change solo development efficiency.
That said, AI remains a tool. The design judgment of "what makes this fun" is something only humans can provide. Let AI handle the efficiency gains aggressively, but invest your own time in the core experience design. This separation of concerns is the key skill for solo game development in the AI era.
SECTION 09
Origin Story: The Build-and-Share Cycle That Started with Pocket Computer BASIC
The first thing I ever built on my own was a game. In high school, studying electrical engineering, I had a pocket computer—a handheld calculator with BASIC built in—and I'd prop up my textbook as cover while secretly writing programs during class.
With no internet available, I learned by asking teachers, browsing bookstores for references, and figuring things out myself. I built small mini-games, handed them to classmates to play, watched them react, then made improvements and built the next game. That cycle repeated over and over.
That loop of "build, let someone use it, watch their reaction"—it's exactly what I still do today in product development. Having built over 40 services and products, I can trace the origin of that practice back to a pocket computer in a high school classroom.
Solo game development isn't something exotic. It's the simplest form of making things. Build what you want, let someone play it, watch their reaction, improve. The tools and technologies change, but the cycle itself never does.
That's why your first step can be small. You don't need to aim for a perfect game—just finish something and put it in someone's hands. That's where everything begins.