SECTION 01
Three Ways to Pass Images to Claude Code
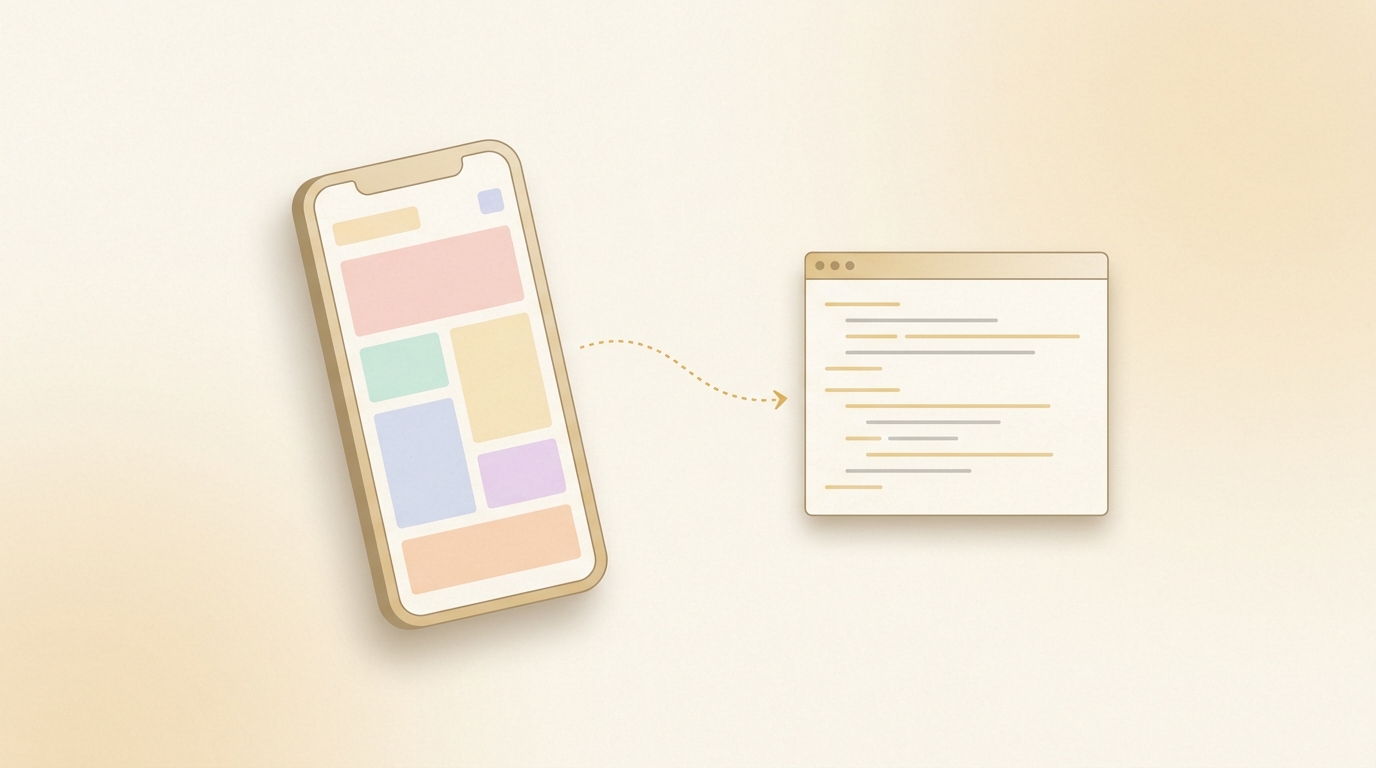
There are three main methods for passing images to Claude Code. You can specify a local file path in the CLI, drag and drop in the desktop app, or paste directly from your clipboard.
When using the CLI, the basic approach is to include the local image path directly in your prompt. For example, pass the image path alongside an instruction like "reproduce this design," and Claude Code will read the image and generate code.
In the desktop app or web version, you can drag and drop image files or paste screenshots directly. This is the most intuitive method for those less comfortable with the terminal.
It helps to know the supported formats and limitations:
- JPEG, PNG, GIF, and WebP are supported
- Large files slow down processing, so resizing before passing is practical
- You can pass multiple images at once, but too many makes instructions ambiguous
From experience, limiting images to one or two per instruction produces the most stable results. Consciously switching between showing the full view and zooming into specific parts makes a noticeable difference in reproduction quality.
SECTION 02
Use Cases: Screenshots, Mocks, and Error Screens
The purpose of passing images falls into three main patterns: generating code from UI screenshots, building components from design mocks, and debugging with error screen captures.
When generating HTML/CSS or React from screenshots, "reproduce this screen" alone won't produce accurate results. Adding context like "reproduce the header layout using Flexbox" significantly improves output quality.
For Figma mock images, slicing by component rather than passing the entire screen works far better. Breaking it into cards, navigation, forms, and other logical units helps Claude Code parse the structure accurately.
Error screen screenshots are extremely powerful for debugging:
- Browser console errors are easier to understand as screenshots than pasted text
- Layout issues are fastest to fix when you show expected vs. actual side by side
- Even long stack traces are digestible as a single image overview
SECTION 03
Prompt Decomposition Patterns for Higher Fidelity
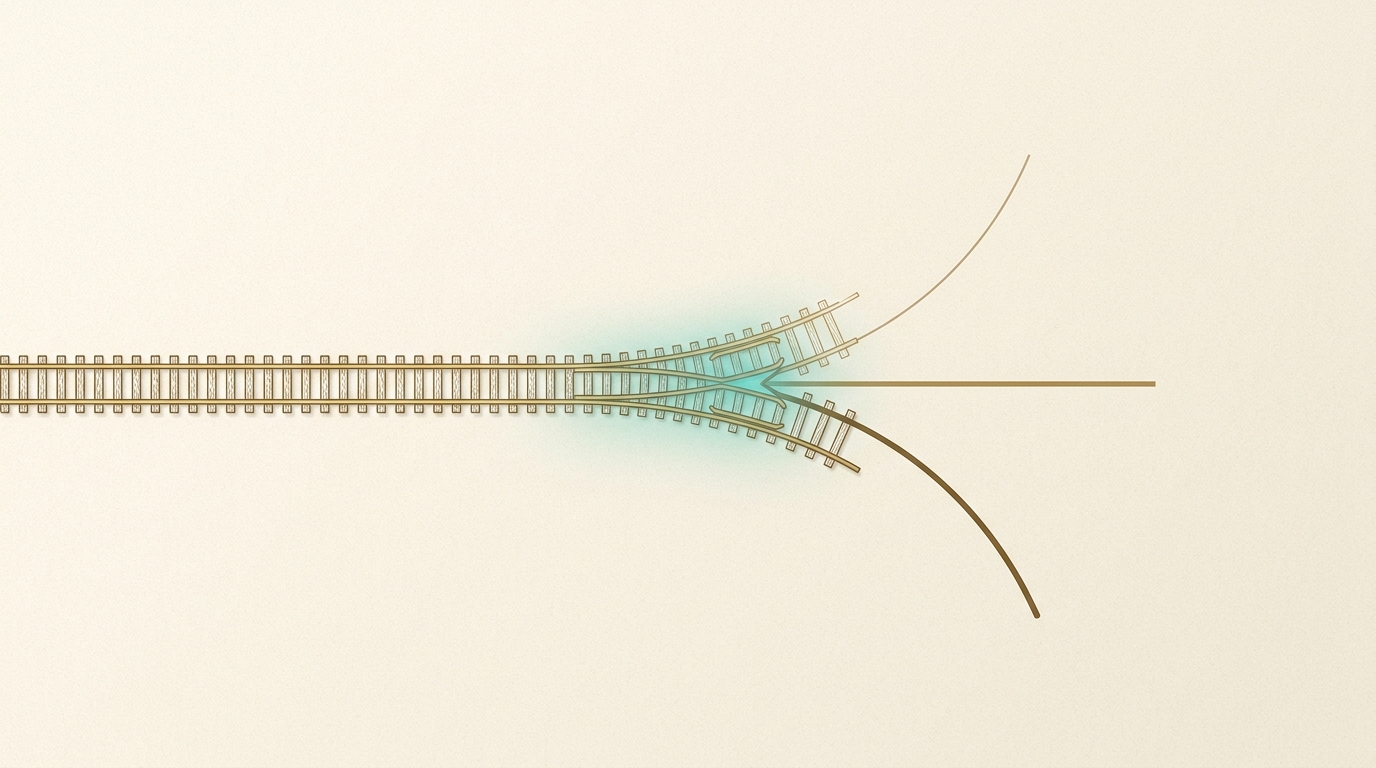
Passing an image with "reproduce this" in a single shot is the most common way to fail. The more complex the screen, the more a staged approach dramatically improves accuracy.
Through trial and error, I settled on a three-stage flow: layout → colors/fonts → responsive. First build the HTML structure and layout, then adjust colors and typography, and finally add responsive behavior.
The reasoning behind this order is clear:
- Adjusting colors on a broken layout means redoing work every time the structure changes
- Fonts and colors are easy to change later, but HTML restructuring has wide impact
- Responsive should come last to avoid conflicting with layout instructions added mid-process
Whether you add text annotations alongside the image can dramatically affect accuracy. A single line like "the card corners should be more rounded" or "the background is a solid color, not a gradient" brings the output much closer to intent.
For complex screens, splitting the screen into regions and passing them in multiple rounds is highly effective. Handle header, main content, sidebar, and footer as separate instructions, then integrate at the end to maintain fidelity across the whole page.
SECTION 04
How to Request Fixes When the UI Breaks
When generating UI from images, it almost never comes out perfect on the first try. What matters is how you request fixes. Your approach here has an outsized impact on total time spent.
The most effective pattern is showing "expected vs. actual" side by side. Pass both the original design image and a screenshot of the generated output, then instruct "fix the differences between these two."
Showing the diff as images produces higher fix accuracy than describing issues in text alone. Subtle layout shifts and color nuance differences are hard to verbalize but instantly obvious in a visual comparison.
Here's what I keep in mind to minimize fix loops:
- Limit each fix request to no more than three issues — too many leads to half-baked fixes on everything
- Always take a screenshot after each fix and carry remaining issues to the next round
- Instead of "fix this," add specific CSS guidance like "reduce the margin-top on this element"
From experience, running the fix loop with images converges faster than text-only exchanges. Text-based back-and-forth accumulates misunderstandings that extend the loop unnecessarily.
SECTION 05
How Automating Screenshot Capture Changed Everything
Once AI sped up coding, I realized the next bottleneck shifted to verification. Code generation is instant, but manually checking every output kills overall throughput.
The solution was having screenshots taken automatically when a task completes. After AI writes the code, it self-reviews and captures a verification screenshot as one unified step. If something's wrong, it loops back into fixes automatically.
Before this system, the inefficiency of repeated manual checks was painful:
- The cycle of generate → manually check → it's broken → request fix was a silent time drain
- Deferring checks let problems pile up, ballooning fix costs
- With screenshots auto-captured, both review quality and speed improved simultaneously
When building KING CODING — a tool for managing multiple AI agents in parallel — I designed the UI so that completed tasks appear with screenshots already attached. You just check on your phone and hit the done button if it looks right. Being able to review from a café while having coffee fundamentally changed how development feels.
SECTION 06
Model Selection and Claude Code's Strengths and Weaknesses for Image Tasks
Claude Code excels at understanding large repositories, implementing features, and auto-resolving errors. However, when it comes to fine-tuning designs from images, it's not always the strongest option.
For pixel-level UI tweaking, Cursor still feels more usable in my experience. The workflow of directly editing files with a live preview in an IDE-based tool suits fine adjustments better. I still find using both tools in tandem to be the optimal approach.
Model strengths and weaknesses become especially clear with image recognition:
- Claude Code has strong image interpretation in a code-generation context, excelling at grasping layout structure
- Some models like DeepSeek can't process images at all, making them unusable for visual tasks
- For a realistic balance of cost, speed, and fidelity, Claude Code for implementation and Cursor for tweaks is a practical split
Switching to the Max Plan without hesitation was partly because image-heavy workflows with iterative exchanges run up API costs fast. Being free to pass screenshots and run fix loops without watching the meter ultimately leads to better reproduction quality.
More important than which model you choose is deciding where in your workflow to integrate image input. Tool capabilities change daily, but designing how you use them is something only you can do.
SECTION 07
Step-by-Step: From Figma Mock Images to Component Implementation
You can't pass Figma design data directly, but exporting images and passing them to Claude Code enables component-level implementation. Here's the workflow I actually use.
The first step is preparing images sliced by component, not full-screen screenshots. Select each component in Figma, export as PNG, and save with a consistent naming convention.
Once sliced, proceed in this order for stability:
- Implement layout components (header, footer, sidebar) first
- Then generate content components (cards, lists, forms) individually
- Finally enter an integration phase to combine and adjust everything
The benefit of per-component passes is that fix impact stays contained. Generating everything at once means one fix can ripple across other parts. Building pieces separately and then assembling produces fewer total revisions.
If you have Figma design tokens (color and font size definitions), passing them as text alongside the image is highly effective. Specific values like "primary color is #1A73E8, font is Noto Sans JP" let code generate with exact values rather than relying solely on image interpretation.
SECTION 08
Parallel Tasks and the Reality of Screenshot-Based Review
With tools like Claude Code Action, you can assign multiple issues to AI in parallel. Working on something else while implementation progresses in the background is incredibly powerful.
But the more you parallelize, the more review work floods in at once. Running tasks in parallel and reading every one through detailed text reports leads to rapid burnout. This is a distinctly AI-era form of "review fatigue."
The solution is a screenshot-based review flow. When each task auto-captures a screenshot on completion, you can visually judge OK/NG without reading code. The time spent on verification drops dramatically.
Key operational takeaways:
- Review parallel task results with screenshots instead of text reports
- Obviously correct ones get a glance and approval; only flag items that look off for deeper review
- Lowering the review barrier means scaling parallel count without breaking the workflow
SECTION 09
How to Check When Image Features Change with Updates
Claude Code is frequently updated. Image input behavior can change between versions, so when something stops working, checking the version first is the golden rule.
The basic check is the claude --version command. Running it in your terminal shows the current version, giving you a baseline for comparing against guides and articles written by others.
When someone else's tutorial doesn't work for you, the cause is often a version mismatch. Image format support and input UI are particularly change-prone areas, so building a habit of cross-referencing the article's publish date with your version saves wasted troubleshooting.
Tips for efficiently tracking version changes:
- Check release notes regularly and note any image-related changes
- When image input breaks, update to the latest version and retry first
- When workflow-affecting changes land, update your own CLAUDE.md or procedure docs accordingly
Updates come fast, but only you can judge whether a change actually impacts your workflow. You don't need to track everything — focusing on image input, model changes, and CLI behavior is the realistic approach.