
SECTION 01
What Is Claude Code? The Big Picture in 30 Seconds
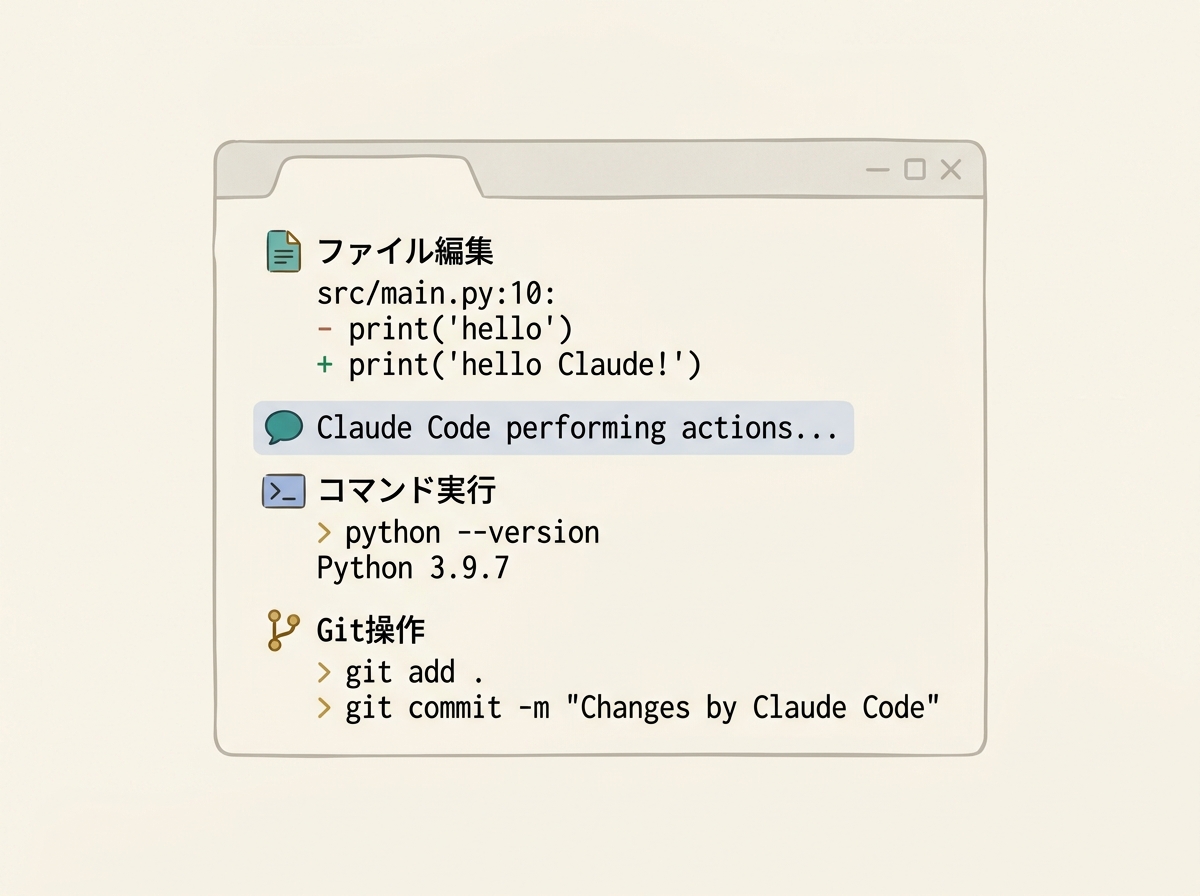
Claude Code is an AI coding agent that runs in your terminal, built by Anthropic. Instead of pasting code into a chat window, you launch it inside your project directory and let it handle file reads and writes, command execution, and even Git operations—all in one seamless flow.
It's fundamentally different from editor-integrated AI tools like Cursor or GitHub Copilot. Rather than offering completions and suggestions inside your editor, Claude Code operates directly from the terminal—editing files, running tests, and executing commits on its own.
There's one prerequisite you should know before getting started: it's a CLI tool, so you need basic comfort with the terminal. That said, if you can cd into a directory and run commands, you're good. If you already use the terminal in VSCode, you'll have no issues.
When I first tried it, I honestly thought "A CLI? Sounds tedious." But installation was surprisingly simple, and once I started using it, everything from error fixes to commit message generation to PR submissions naturally blended into my daily workflow. Before I knew it, I couldn't work without it.
SECTION 02
Installation Steps (Mac, Windows, and Linux)
The officially recommended method is a native installation. One-liner commands are provided for each OS—just paste it into your terminal and you're done.
For Mac, you can install using either of the following methods:
- Recommended: Run the official native install command
- Homebrew: You can also install with
brew install claude-code - After installation, type
claudeto launch - If
claude --versiondisplays a version number, you're all set
For Linux, just run the official native install command. You can also install via npm, but that requires Node.js v18 or higher.
For Windows, you can install via WinGet, run it on WSL (Windows Subsystem for Linux), or use native execution through Git for Windows. You can also launch it from PowerShell or CMD using Git Bash internally, so pick whichever method suits your environment.
Installation is genuinely easy—when I first tried it, I had it running within minutes. If you get a permissions error when installing via npm, the recommended fix is to avoid using sudo and instead switch to managing Node.js with a version manager like nvm.
SECTION 03
First-Time Authentication and Account Setup
After installation, type claude and the authentication flow starts automatically on first launch. Your browser will open, prompting you to log in to or create an Anthropic account.
There are multiple authentication options. You can authenticate with a Claude.ai subscription account (Pro / Max), a Team or Enterprise workspace, Claude Console (API), or even through a cloud provider. Once authentication completes in your browser, control returns to the terminal and you're ready to go.
Note that if the ANTHROPIC_API_KEY environment variable is set, it may take priority over subscription authentication. To avoid billing to an unintended account, verify which account you're authenticated with right from the start.
It's important to understand your billing plan options at this point. Here's a breakdown:
- Pro / Max plan: Uses your Claude.ai subscription. Claude and Claude Code share the same usage limits. When you hit the cap, you either wait for a reset or enable extra usage to continue at API rates
- Team / Enterprise plan: Organization-level plans that let your entire team use Claude Code
- Claude Console (API): You purchase usage credits upfront, then consume them across the API, Workbench, and Claude Code. It requires more granular cost management but offers flexibility for heavy usage
- For personal use, start with the Pro plan and consider switching to Max or API as your usage grows
Setting a billing cap is something you should do on day one. With the API plan, you can set a monthly spending limit from the Anthropic dashboard. If you put this off, costs can pile up faster than expected while you're experimenting.
SECTION 04
Completing Your First Task (Hands-On Tutorial)
Once authentication is done, it's time to tackle your first task. Don't create a new project—launch claude inside an existing project directory. Feeding it a real problem makes it much easier to evaluate the quality of its output.
The best first move is to take an error showing in your VSCode terminal and pass it directly to Claude Code. Just say "fix this error" and it will read the relevant files, identify the cause, and make the fix. After you review the changes, it flows straight into committing.
This exact pattern is what made me think "okay, this is legit" the first time I used it. I had an error in my VSCode terminal, passed it straight to Claude Code for a fix, and the context sharing was so easy that I experienced the full loop—from fix to commit message generation to PR submission—on day one.
Even if you don't have a bug handy, there are safe first moves that are hard to mess up:
- Have it write unit tests for existing code
- Have it add comments or documentation to functions and classes
- Pass it a diff from your commit history and have it generate a commit message
The key is to not throw a big task at it right away. Complete one small fix successfully, get a feel for how Claude Code operates, and then gradually increase the scope of your tasks. That's the reliable path forward.
SECTION 05
Troubleshooting and Essential Commands
As you use Claude Code, there will be moments when its suggestions start going off track. This is usually a sign that accumulated conversation context has become noise.
That's when you use the /clear command. It resets the conversation history so you can re-describe just the current situation, bringing the suggestions back on target. When a bug fix starts going in circles, the trick is to /clear first, organize the problem clearly, and then re-submit it—before piling on more fixes.
You don't need to memorize many commands. Start with these four:
/clear: Reset context and start fresh/cost: Check how much the current conversation has cost/compact: Summarize and compress the conversation to free up context space/help: Display a list of available commands
A common mistake when errors occur is stacking fixes on top of fixes. When a correction from Claude Code doesn't work and you keep issuing follow-up instructions, the context gets polluted and things drift further off course. It's faster to /clear, then pass in just the error message as a fresh prompt.
SECTION 06
For VSCode Users: How to Integrate Claude Code
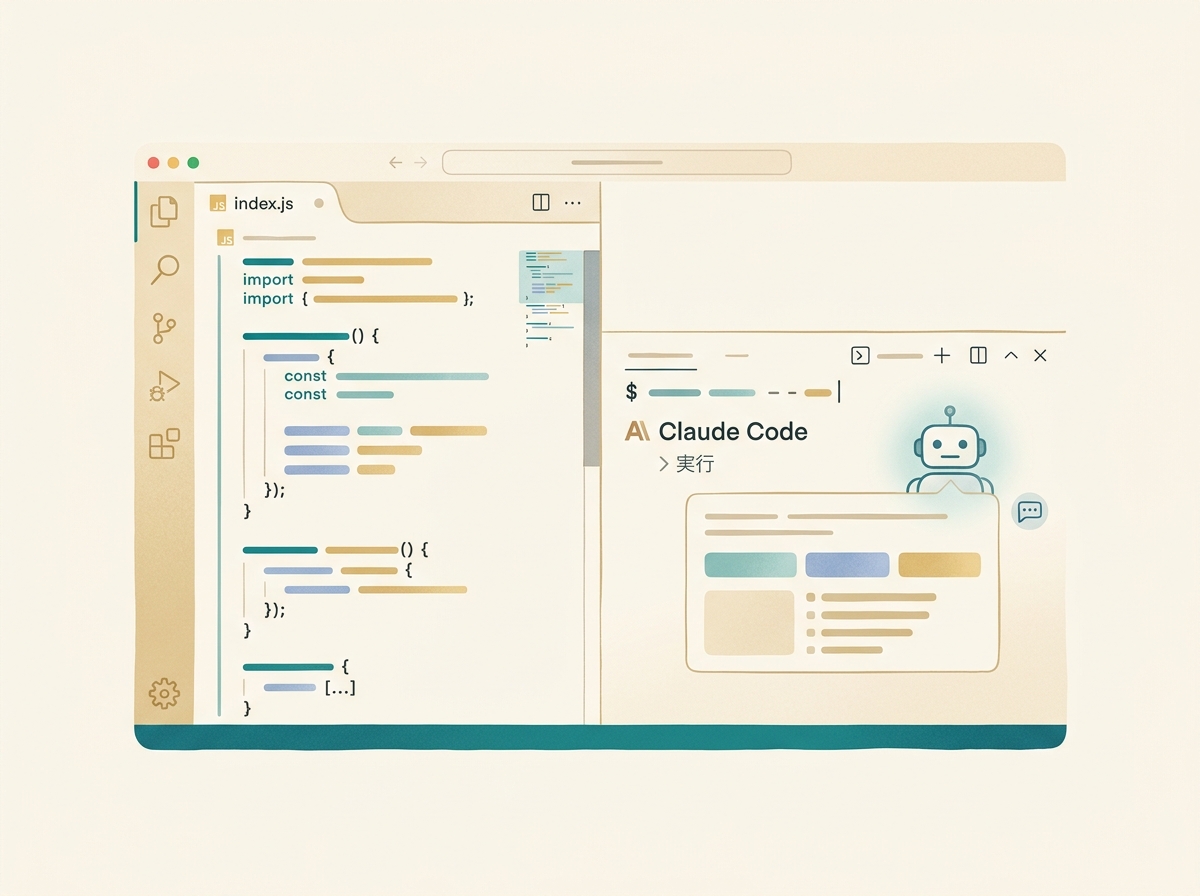
If you use VSCode, the official Claude Code extension is the way to go. The extension includes the CLI, so installing it alone gives you both terminal usage and the editor UI experience.
Since it's integrated into the editor UI, even those who aren't comfortable with terminal operations can start using it intuitively. Of course, you can also simply run the CLI version of Claude Code in VSCode's terminal pane. You can view code in the editor while issuing instructions from the terminal in the same window—no need to switch between applications.
Let me touch on how to divide roles with Cursor. Based on my own trial and error, here's how I've settled on using each:
- Cursor: Strong at reading file indexes for context-aware suggestions. Best for code completion and localized edits
- Claude Code: Strong at connecting terminal operations, execution, and automation. Best for multi-file changes and Git operations
- Start with one or the other, then move to using both once you're comfortable
Trying to split between both tools from the start increases decision overhead and actually slows you down. First, run your full workflow with Claude Code alone. When you notice areas where editor-based completion would be faster, hand those off to Cursor. That's the natural progression.
SECTION 07
Settings and Practices to Prevent Billing Surprises in Your First Month
When I first started experimenting with AI coding tools, a single complex task sent costs flying beyond expectations. Claude Code is no exception—certain tasks consume tokens by the second.
For the first week, my honest advice is to deliberately stick to small tasks only. One bug fix, one test addition, one comment generation. Check the cost of each with the /cost command and build your own intuition for the numbers.
Here are specific strategies to keep costs under control:
- Use cheaper models like Haiku for simple tasks (adding comments, formatting fixes, etc.)
- Reserve higher-tier models for complex design decisions and refactoring
- If you're on the API plan, set a monthly spending limit in the Anthropic dashboard
- Even on Pro / Max plans, be aware that usage limits exist and understand in advance what happens when you hit them
- Build a habit of checking your current session cost regularly with
/cost
Even if you choose a Pro / Max plan, note that Claude and Claude Code share the same usage quota. It's not unlimited—once you hit the cap, you either wait for a reset or switch to extra usage. If you're starting on the API plan, setting a spending limit is non-negotiable. Enter a monthly cap under "Usage Limits" in the dashboard, and the API will stop once that amount is exceeded.

The trick for the first month is to treat costs as "tuition" rather than "investment". Focus on learning Claude Code's quirks and how to craft effective prompts by running small tasks on cheap models. That approach ends up delivering better cost-performance in the long run.
SECTION 08
Expanding After You're Comfortable (Next Steps)
Once you're comfortable with the basics, the next thing to set up is a CLAUDE.md file. Place a CLAUDE.md in your project root, and Claude Code will automatically load your project-specific rules and coding conventions every time it runs.
CLAUDE.md placement depends on the use case:
./CLAUDE.md(project root): For project-specific rules. Use this if you're sharing conventions with a team~/.claude/CLAUDE.md(home directory): For rules you want applied across all projects. Best for personal preferences and style settings
Things that work well in CLAUDE.md include coding style, testing conventions, and framework details. Prerequisites you used to explain verbally every time get applied automatically, dramatically reducing the effort of giving instructions.
Going further, you can unlock a whole new world by connecting external tools via MCP servers:
- GitHub: Create PRs and manage issues directly from Claude Code
- Notion: Reference and update documents within your conversation
- Slack: Pull channel information and incorporate it into your work
- Combining these lets you delegate even non-coding tasks to Claude Code
I now run multiple products with separate Claude Code instances for each project in parallel. I can even issue instructions from my phone, so I'm in a state where I can act on ideas immediately, even while on the move.
However, this level of expansion is not something to do from the start. First, internalize how Claude Code works on a single project, then gradually expand from there. Starting with one project and one task is the right call—and it's ultimately the fastest path forward.